


Installing attic insulation is a straightforward process that significantly improves a home's energy efficiency and indoor comfort. The process involves preparing the attic space, selecting the right type of insulation, and applying it according to the building's specifications. Homeowners must evaluate their climate zone, existing insulation levels, and budget before beginning.
This guide breaks down every stage of the insulation process. It also includes key comparisons, technical data, and decision-making factors to help readers understand what’s involved in the process and how to make informed choices that improve energy performance and reduce utility costs.
Understanding the Process
Key Steps in the Attic Insulation Process
Inspection and Preparation
- Evaluate the attic's current insulation and structure.
- Identify air leaks and seal gaps using caulk or foam sealant.
- Ensure vents and soffits are clear for airflow.
Selection of Insulation Type
- Choose based on R-value needs, climate zone, and budget.
- Common materials include fiberglass batts, blown-in cellulose, and spray foam.
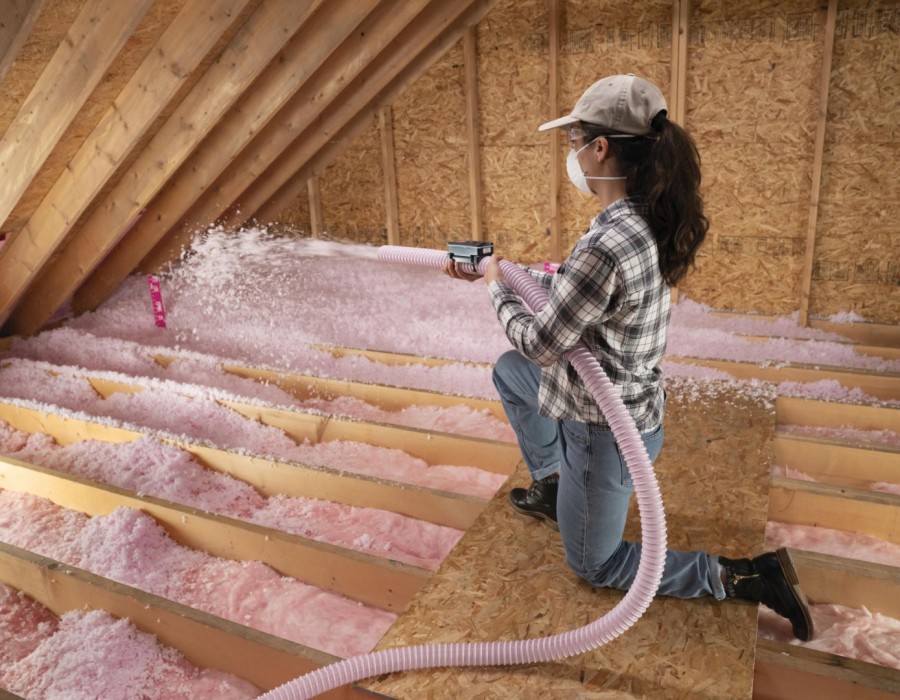
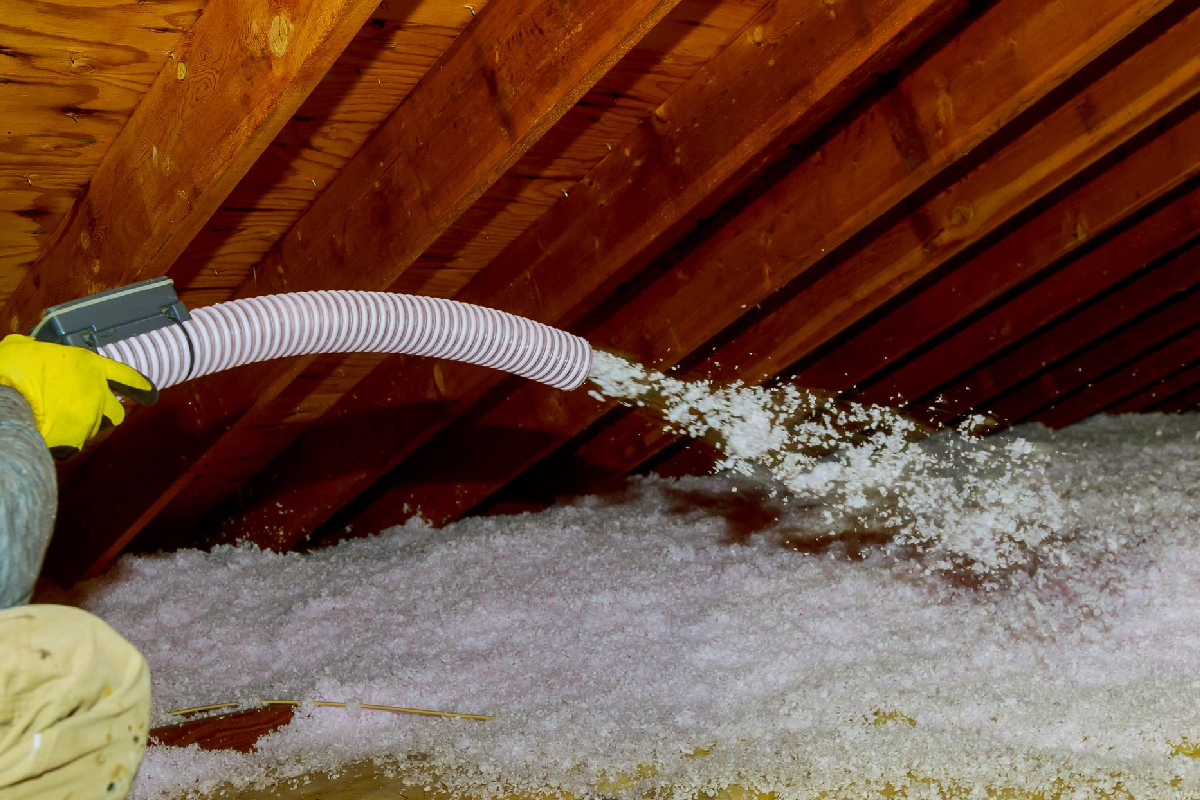
Installation
- Roll or blow insulation evenly across the attic floor.
- Maintain consistent thickness and avoid compression.
- Use protective equipment during installation.
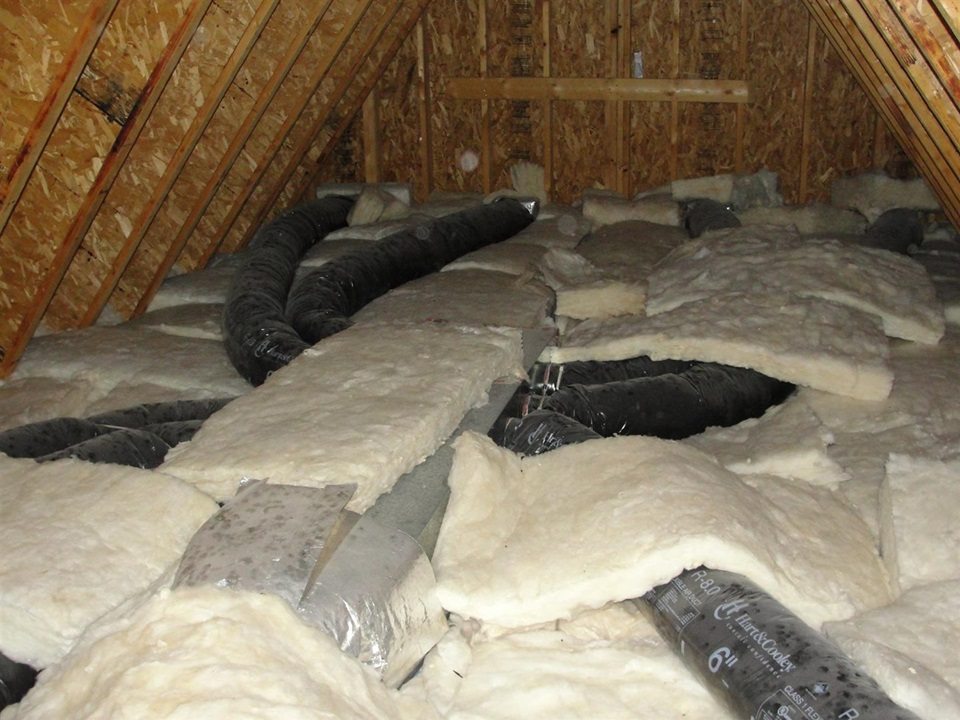
Post-Installation Check
- Confirm coverage is complete with no exposed areas.
- Recheck ventilation and ensure air circulation is not blocked.
Types of Attic Insulation
Material Comparison Table
Insulation Type
R-Value per Inch
Installation Method
Moisture Resistance
Cost per Sq. Ft.
Best Use Case
Fiberglass Batts
R-2.9 to R-3.8
Rolled in sheets
Moderate
$0.40–$1.00
DIY-friendly, standard attics
Blown-In Cellulose
R-3.2 to R-3.8
Blown with machine
Low
$0.60–$1.20
Attics with odd shapes/obstacles
Spray Foam (Closed)
R-6.0 to R-6.5
Sprayed, expands
High
$1.00–$3.00
Air sealing + insulation
Mineral Wool
R-3.0 to R-4.0
Laid or blown
High (fire resistant)
$0.80–$1.50
High-temperature areas
Bonus Tip
For attics with many obstructions or non-standard framing, blown-in cellulose or spray foam offers better coverage and fewer thermal gaps.
Technical Specifications
Insulation Technical Data Table
Specification
Description
R-Value
Thermal resistance rating. Higher values = better insulation.
Air Sealing Capability
Prevents air leaks that undermine insulation effectiveness.
Vapor Retardant Level
Indicates moisture resistance—important in humid regions.
Lifespan
Most materials last 20–80 years with minimal degradation.
Fire Rating
Measured by flame spread index (lower is better).
Settling Rate
How much the insulation compresses or shifts over time.
Climate Considerations
The Department of Energy defines 8 climate zones for insulation recommendations. For example, colder regions (Zones 5–8) require an R-value of R-49 to R-60, while warmer areas (Zones 1–3) may only require R-30 to R-38.
Bonus Tip
Always install attic insulation above the recommended minimum R-value for your zone to future-proof against rising energy costs.
Things to Consider Before Making a Decision
- Current Insulation Levels: Measure existing R-value to determine if a full replacement or a top-up is needed.
- Climate Zone: Match insulation type and R-value to your region’s energy code requirements.
- Budget Constraints: Weigh long-term energy savings against upfront costs.
- DIY vs Professional: Some methods (like batt insulation) are DIY-friendly; others (like spray foam) require certified installers.
- Air Sealing Needs: Proper insulation must be paired with airtight sealing to be fully effective.
- Ventilation Compatibility: Ensure insulation does not block airflow through soffit vents or roof vents.
Installation Process Explained
Step-by-Step Overview
Step 1: Preparation and Safety
- Remove old insulation if damaged or moldy.
- Check for roof leaks or structural damage.
- Wear safety gear: gloves, mask, and goggles.
Step 2: Air Sealing
- Seal cracks, vents, and gaps using caulk or spray foam.
- Add weather stripping around attic access points.
Step 3: Installing Insulation
- Fiberglass Batts: Lay between joists without compressing.
- Blown-in Cellulose: Use a blowing machine to spread evenly.
- Spray Foam: Apply in layers with professional equipment.
Step 4: Final Inspection
- Measure total depth to confirm proper R-value.
- Inspect for voids or compressed areas.
- Recheck airflow paths and ensure soffits remain open.
Market Data Insight
According to the U.S. Energy Information Administration (EIA), homeowners can reduce annual heating and cooling costs by up to 15% with proper attic insulation and air sealing.
Common Questions About Insulation
Can I install attic insulation myself?
Yes, for fiberglass batts or blown-in cellulose (with rented equipment). Spray foam should be professionally installed due to chemical handling and precision.
How much insulation do I need?
It depends on your climate zone. For example, Zone 4 typically requires R-38 to R-49. Measure your attic's square footage and match it with the R-value per inch of your chosen material.
Is removing old insulation necessary?
Only if it's moldy, wet, or contaminated. Otherwise, you can layer new insulation on top to reach the required R-value.
How long does installation take?
DIY installations can take 4–8 hours depending on attic size and material. Professional jobs may be faster, especially for spray foam.
Bonus Tip
Use rulers or marked stakes during installation to ensure consistent insulation depth across the attic.
Attic Insulation FAQ
What’s the best insulation for an unfinished attic?
Blown-in cellulose or fiberglass batts are typically best for unfinished, accessible attics.
Does attic insulation improve home resale value?
Yes. Well-insulated homes often attract higher offers due to improved energy efficiency and lower utility bills.
Will insulation prevent ice dams?
Insulation helps but must be paired with proper ventilation and air sealing to fully prevent ice damming.
Is insulation a fire hazard?
Modern materials like mineral wool and fiberglass have high fire resistance. Spray foam must be installed with a thermal barrier.
Can I insulate over recessed lights?
Only if the lights are IC-rated (insulation contact safe). Otherwise, maintain a 3-inch gap around the fixture.
Make the Right Decision
Proper attic insulation is one of the most cost-effective ways to boost home energy performance. The process requires attention to preparation, material selection, and correct application to achieve lasting benefits. Evaluate your attic’s needs based on climate, structure, and budget, then choose the insulation method that delivers long-term comfort and savings.
By understanding the process, technical requirements, and key considerations, homeowners can confidently install or upgrade attic insulation and ensure their home remains efficient and comfortable year-round.
Comments