


Keeping your pool sparkling clean doesn’t have to be a chore. With an automatic pool cleaner, you can save time, energy, and even money. Whether you’re using a suction-side, pressure-side, or robotic pool cleaner, this step-by-step guide will show you exactly how to use it the right way for the best results.
What Is an Automatic Pool Cleaner?
An automatic pool cleaner is a device that moves around your pool to clean up dirt, debris, and algae without manual scrubbing. It’s designed to work on its own or with minimal supervision. There are three main types:
- Suction-side pool cleaners – Connect to your pool’s filter system and suck up dirt.
- Pressure-side pool cleaners – Attach to the return jet and use water pressure to collect debris.
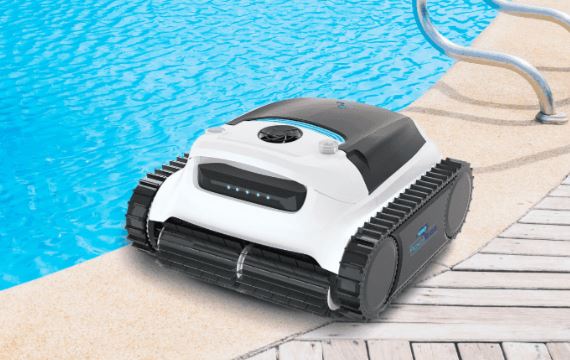
- Robotic pool cleaners – Fully independent units powered by electricity with built-in filters and motors.
Step-by-Step Guide to Using an Automatic Pool Cleaner
Step 1: Choose the Right Cleaner for Your Pool
Before starting, make sure you have the right type of pool cleaner based on:
- Pool size and shape
- Type of debris (leaves, sand, bugs)
- Filter and pump compatibility
- Pool surface (vinyl, concrete, fiberglass)
Tip: Robotic pool cleaners are the easiest to use and work best for all pool types.
Step 2: Inspect and Prepare the Cleaner
- Unbox and check all parts.
- Make sure there are no damaged or missing components.
- Clean out any leftover debris in the filter or collection bag (if reusing).
- Untangle hoses or cords to avoid movement issues in the pool.
Step 3: Turn Off the Pool Pump (For Suction/Pressure Cleaners)
- Always turn off the pool pump before attaching or detaching anything.
- This prevents damage to your system and keeps you safe while setting up.
Step 4: Connect the Cleaner to the Pool System
Depending on the type of cleaner:
- Suction-side: Attach the hose to the skimmer or dedicated suction port.
- Pressure-side: Connect the cleaner to the return jet and ensure the booster pump (if needed) is working.
- Robotic: Plug the power supply into a GFCI outlet and lower the cleaner into the water.
Step 5: Submerge the Cleaner Properly
- Make sure all air bubbles are removed from the hose or unit.
- For robotic models, let the cleaner sink slowly and rest on the pool floor.
- For hose-based cleaners, fill the hose with water before connecting it to avoid airlocks.
Step 6: Power On the Cleaner
- Turn on the pump for suction or pressure models.
- For robotic cleaners, press the power/start button on the control box.
- Most robotic cleaners offer different modes – quick clean, full clean, or wall-only. Select as needed.
Step 7: Let It Clean
- Let the cleaner run for its full cycle (typically 1.5 to 3 hours).
- Make sure the cleaner is moving freely and covering the entire pool surface.
- For robotic models, some come with smart mapping to ensure thorough cleaning.
Step 8: Turn Off and Remove the Cleaner
- Once cleaning is complete, turn off the pump or unplug the robotic unit.
- Remove the cleaner from the pool and drain the water out.
- Be gentle with cords and hoses to avoid kinks or damage.
Step 9: Clean the Filter or Debris Bag
- Empty and rinse the filter canister, bag, or basket.
- For robotic models, open the top/bottom lid and remove all dirt and leaves.
- Let the parts air dry before storing.
Step 10: Store the Cleaner Properly
- Store the unit in a dry, shaded area.
- Avoid direct sunlight or extreme heat.
- Coil hoses or cables loosely to prevent tangling and damage.
Bonus Maintenance Tips
- Clean the filter and brushes after every few uses.
- Inspect wheels, tracks, or scrubbers for wear and tear.
- Replace worn-out parts to maintain optimal performance.
- Avoid running the cleaner while swimming.
Conclusion
Using an automatic pool cleaner is one of the easiest ways to keep your swimming pool crystal clear with less effort. Whether you choose a robotic model or a traditional suction-side cleaner, following this step-by-step guide ensures a hassle-free cleaning process.
A clean pool is just a few steps away — plug it in, drop it in, and let it do the work!
Comments