


GL iNet routers have made their significant impact into the networking industry. The routers are built for different needs and also come in different sizes. One of its most famous categories is travel and compact routers. No matter which router you pick, the GL iNet router setup process is almost similar for each one of them. So if you are looking for a complete setup guide, then this particular guide will definitely provide some great insights. From placement of the router to linking it to the internet, we have got you all covered. So without delaying it further, let's start with the collection of setup components.
GL iNet Router Setup Requirements
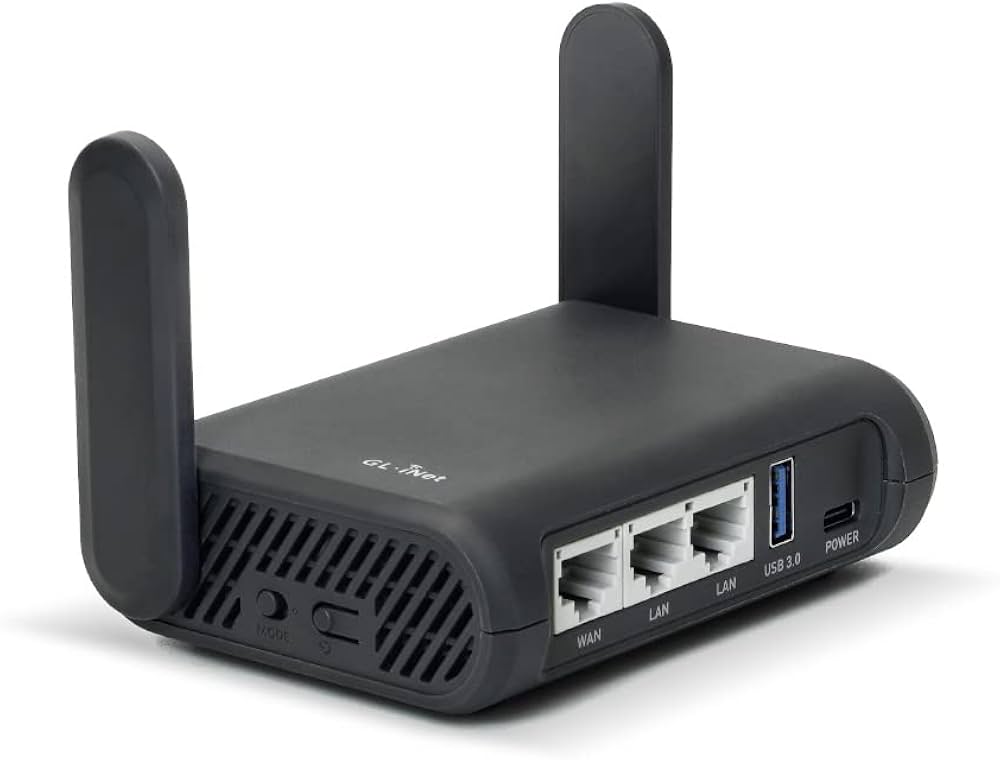
For setting up the router, here's every single component that you need:
- A GL iNet router.
- Router's power adapter.
- An Ethernet wire with no cuts or bruises.
- Thereafter, a smart gadget. You can use your laptop, smartphone, computer and even an iPad for conducting a successful GL iNet router setup process.
- Lastly, a vacant power socket for supplying adequate power to the router.
Each GL iNet router comes with a quick installation manual. So for an even better understanding of the setup process, you must give it a quick reading. With this we move to the next crucial step which is placement of the router.
Place The Router Strategically
Users generally do not pay attention towards the placement of the router. But remember that strategic placement can totally change the networking experience. You won't face any connectivity issues and will get better and wider coverage. So here are all the strategies that you can consider if you want the GL iNet router setup outcome to be completely in your favor.
- Plot the router in open space where venting points are proper.
- Avoid placement in between walls, behind furniture or in a corner. Therefore, you should keep it on the higher surfaces. For eg: on a table, on a shelf or if possible mount it on the wall.
- Thereafter, keep the router's close premises completely free from few objects like microwave, refrigerator, cordless phones, bluetooth devices, aluminium doors, child monitors including CCTV cameras and other such appliances of similar nature.
By adhering to each one of this strategy, you won't come across frequent GL iNet router setup issues. So make sure you do not overlook the importance of right placement of the networking device.
Power Up The Device
Now after finalizing the placement, activate the router. Do not use other power cables for doing so, only use supplied cable. The router isn't ready for the setup as of now, because it is finishing its booting process which takes up to a few minutes. So meanwhile you have to wait for the power indicator to brighten up. As it lits up, you can move on to the next step.
Link Smart Device To GL iNet Unit
To establish a connection between GL iNet router and the smart device you primarily have two alternatives.
- First is wireless connection. So for this you need to first note down the references that are written on the router's label which you can easily find either at the base of the router or at the back side. Now activate smart gadgets wifi. Connect to the network identity that you just found on the label.
- The second linking method is much more favourable for the GL iNet router setup. So in this you require an Ethernet wire. Use this wire and attach the Router to the smart gadget. That's it you have now made a solid link. The next step is to Login.
Login
Login is non-negotiable for GL iNet router setup. So first on the networked gadget, launch the browser. It should be compatible with no pending updates. We would suggest using one between internet explorer, chrome, edge, safari and firefox. Also delete all browser caches and cookies. All these steps won't let the browser create any issues with the login. So follow them precisely.
Now after you do all of the above, go to the browser's address column. Type http://192.168.8.1 without a single error. Press Enter. Now pick the language of your preference. Tap Next. There is no pre-assigned passkey. So make one on your own. Confirm the passkey by typing it again and then click on Login.
Connect Router To The Internet
After login the last GL iNet router setup step is connecting to the Internet. For doing the same, first click on the Internet option from the primary dashboard’s side panel. Thereafter you get to make a choice between four more options. Select one. Give in the asked information and connect successfully. Once connected, do not logout immediately. Rather make a few important changes. First, visit the firmware upgrade section. Check for available updates. If found, start with the installation by following the guidance as given by the interface itself. Next up, for better security enable strong security encryptions. You can also make a separate SSID and passkey for visitors. This adds up to even better security.
For any other query and assistance, connect to our professionals.
Comments