


Setting up a projector might seem simple at first, but getting the perfect image on your screen requires more precision than many people realize. The height and angle of your projector can dramatically affect picture quality, clarity, and overall viewing comfort. Whether you are installing a home theater system or setting up a portable projector in your bedroom, small errors in positioning can lead to distorted images, uneven brightness, or even neck strain. In this guide, we will explore the most common height and angle errors people make during installation and how to fix them to achieve a perfect projection every time. Understanding these Projector Placement Mistakes can help you get the best out of your investment.
Why Height and Angle Matter in Projector Setup
Projectors work by casting light onto a surface at a specific angle. If that angle or height is off, even slightly, the image can appear distorted, skewed, or out of focus. Unlike televisions, which show a uniform picture no matter where they are placed, projectors depend heavily on proper alignment to create a rectangular, evenly lit image.
The goal is to align the projector lens with the center of the screen, both horizontally and vertically, while maintaining a flat projection angle. Incorrect placement can cause problems like keystone distortion, shadowing, and uneven focus across the screen.
Common Projector Height Mistakes
1. Placing the Projector Too High or Too Low
One of the most common mistakes is mounting or placing the projector at the wrong height. The projector’s lens should ideally align with the top or bottom edge of the screen, depending on whether it is ceiling-mounted or table-mounted.
If the projector is too high or too low, you will notice that the image tilts upward or downward, creating a trapezoid-shaped distortion. While many modern projectors offer keystone correction to fix this, it often comes at the cost of image quality. Physically aligning the projector is always a better solution.
2. Ignoring Lens Offset
Every projector has a lens offset, which refers to how far the projected image shifts from the lens center. For example, some projectors are designed to project slightly upward when placed on a table. Ignoring this factor can cause part of the image to overshoot the screen or appear misaligned. Always check your projector’s specifications for lens offset details to ensure correct installation height.
3. Failing to Consider Screen Height
The height of your screen also affects where your projector should be placed. If the screen is mounted too high on the wall, it forces you to tilt the projector upward, which can cause distortion and uneven focus. A good rule is to position the bottom of the screen roughly 2 to 3 feet above the floor for comfortable eye-level viewing when seated.
Common Projector Angle Mistakes
1. Tilting the Projector Too Much
Tilting the projector sharply upward or downward to fit the image on the screen is one of the biggest Projector Placement Mistakes people make. This leads to keystone distortion, where the image becomes wider at one end and narrower at the other. Although digital keystone correction can help, it reduces image sharpness and pixel accuracy. It is better to physically position the projector so the lens is perpendicular to the screen.
2. Angling the Projector Sideways
If your projector is not centered horizontally with the screen, you will notice that one side of the image appears stretched or out of focus. Side angles are particularly common in rooms where the projector cannot be placed directly in front of the screen. The best solution is to use a ceiling mount with horizontal lens shift or move the projector to achieve perfect alignment.
3. Ignoring the Lens Shift Feature
Lens shift allows you to move the image up, down, left, or right without physically moving the projector. Many users overlook this feature and instead tilt the projector, causing alignment issues. If your projector includes lens shift, use it to fine-tune the image alignment rather than adjusting the physical angle.
How to Find the Correct Height and Angle
Step 1: Measure the Screen Placement
Start by deciding where your screen will be mounted. Measure the height from the floor to the center of the screen. This will guide where your projector should be positioned vertically.
Step 2: Align the Lens with the Screen Center
The projector lens should line up horizontally with the screen’s center. For ceiling mounts, ensure that the lens aligns with the top edge of the screen. For table setups, the lens should be level with the bottom edge.
Step 3: Keep the Projector Level
Use a spirit level or the built-in leveling feet on your projector to ensure it is perfectly horizontal. Even a small tilt can create visible distortion.
Step 4: Adjust Using Lens Shift or Zoom
If the image still appears off-center, use the projector’s lens shift or zoom function to fine-tune placement. Avoid excessive use of digital keystone correction, as it can reduce image quality.
The Impact of Ceiling and Table Mounts
Ceiling Mount Setup
When mounting a projector on the ceiling, make sure it is securely attached using a compatible mounting bracket. Measure the distance from the ceiling to the screen and adjust the mount so that the projector lens aligns with the top edge of the screen. Keep all cables neatly arranged to prevent interference.
Tabletop Setup
For a projector placed on a table or shelf, ensure the surface is stable and at an appropriate height. Avoid placing it on uneven furniture or soft surfaces that can shift during use. If the table is too low, use a small tripod or adjustable stand to raise it.
Avoiding Focus and Shadow Issues
Incorrect height or angle can also affect focus uniformity. If you notice that the center of the image is sharp but the edges are blurry, your projector might be tilted or unevenly placed. Similarly, if objects or people cast shadows on the screen, the projector might be too close to the seating area or placed at an incorrect angle.
Ensure there is enough distance between the projector and viewers, and keep the projection path clear of obstructions.
Extra Tips for a Perfect Setup
- Use the projector’s test pattern or grid feature to ensure perfect alignment.
- Keep your projector lens clean and dust-free for sharp image projection.
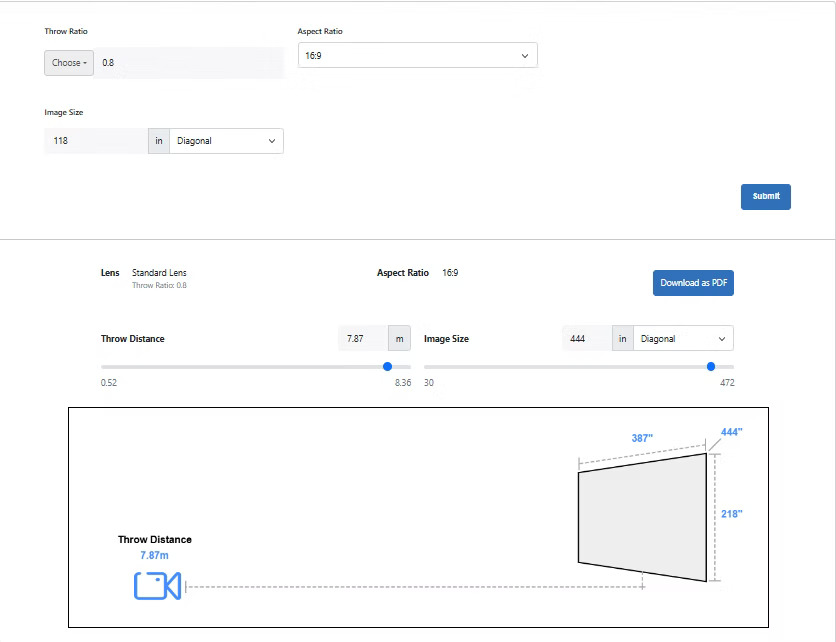
- Check the manufacturer’s recommended throw distance for your model before final placement.
- Avoid placing the projector directly under ceiling lights or near heat sources.
- Double-check the stability of mounts or tables to prevent vibration or shaking.
Final Thoughts
Perfect projector placement requires attention to detail, especially when it comes to height and angle. While keystone correction and digital adjustments can fix minor issues, nothing beats proper physical alignment for maintaining the best image quality. By avoiding these common Projector Placement Mistakes, you can ensure your setup delivers a clear, properly aligned, and immersive viewing experience.
Whether you are setting up a projector for your home theater, living room, or bedroom, take time to measure, align, and test before finalizing your installation. With the right height, angle, and positioning, your projector will perform at its best, giving you a true cinematic experience right at home.
Read more: https://avsyncstudio.wordpress.com/2025/10/07/10-common-projector-placement-mistakes-to-avoid/
Comments