


Clean Floors Made Simple – The Power of Professional Floor Machines
From busy office corridors to bustling shopping centres, clean and glossy floors instantly elevate the look of any space. But keeping them spotless takes more than a mop and a bucket — it takes the right tools and knowledge.
For professional cleaners, learning how to use a floor cleaning machine isn’t just a skill — it’s part of delivering consistent, high-quality results every day. When operated correctly, these machines save time, ensure safety, and create a professional finish that lasts.
This guide explains everything a cleaning worker needs to know — from preparation and operation to maintenance and troubleshooting — so you can get the best performance from your machine.
Why Knowing How to Use a Floor Machine Matters
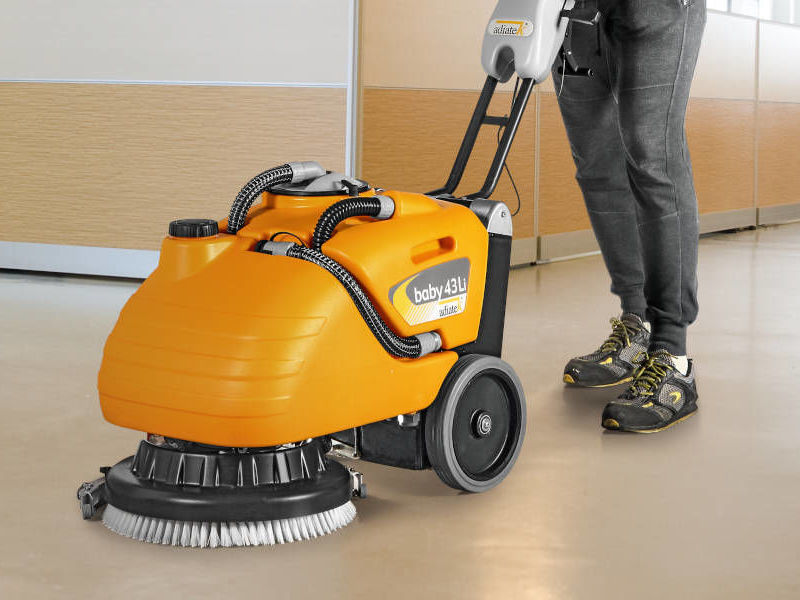
Floor cleaning machines — such as buffers, polishers, burnishers, and scrubbers — are designed to handle tough dirt and maintain a lasting shine. Understanding how to operate them properly ensures not only efficiency but also the longevity of both the machine and the floor surface.
Key benefits include:
- Efficiency: Clean large floor areas in a fraction of the time.
- Consistency: Achieve a smooth, even shine without streaks.
- Safety: Reduce slips and accidents by removing residue effectively.
- Cost savings: Protect floor coatings and extend surface life with regular, proper cleaning.
At Westlink Services, our commercial cleaning teams use advanced floor scrubbers and buffers daily to maintain offices, schools, hospitals, and warehouses across Australia.
Step-by-Step Guide: How to Operate a Floor Cleaning Machine
Step 1: Prepare Yourself and the Work Area
Safety always comes first. Before cleaning:
- Wear non-slip shoes, gloves, and a face mask.
- Remove furniture, cords, or any obstacles from the area.
- Sweep or vacuum to clear dust and debris.
- Place “Caution – Wet Floor” signs around the workspace.
Step 2: Inspect and Prepare the Machine
Check the machine carefully before starting:
- Examine pads, brushes, and squeegee blades for wear or damage.
- Fill the solution tank with clean water and an approved detergent.
- Ensure cords, hoses, or batteries are in safe condition.
Choose the correct pad or brush:
Pad Colour
Purpose
White
Light polishing
Red
Light cleaning
Blue/Green
Medium scrubbing
Black/Brown
Heavy-duty stripping
Brush
For textured or uneven floors
Step 3: Start Cleaning the Floor
- Adjust the handle to a comfortable height.
- Turn the machine on and start slowly.
- Work in small, controlled sections (about 2×2 metres).
- Overlap each pass slightly to avoid missed spots.
- Let the machine’s weight handle the scrubbing — no need to push hard.
- For scrubber models, empty the recovery tank periodically.
Step 4: Final Rinse and Detailing
After cleaning the full area:
- Inspect the floor for marks or uneven shine.
- Wipe edges, corners, and hard-to-reach spots with a microfiber cloth.
- Allow the surface to dry completely before removing signage.
Essential Tools and Supplies
- Floor cleaning machine (scrubber/buffer)
- Suitable pads or brushes for each surface type
- Microfiber mops and cloths
- Neutral or eco-friendly detergents
- Protective gear (gloves, goggles, mask)
- Caution signs and extension cords
Post-Cleaning Machine Maintenance
Keeping your floor machine in top shape ensures consistent performance and a longer lifespan:
- Turn off and unplug after use.
- Empty and rinse all tanks to prevent buildup.
- Wash pads, brushes, and squeegees thoroughly, then let them dry.
- Wipe the exterior and clean any detergent residue.
- Check for loose parts or damaged cords.
- Store the machine in a cool, dry area with cords neatly coiled.
Common Problems and Simple Fixes
Issue
Cause
Solution
Hard to control
Pad is misaligned
Reposition the pad correctly
Streaks or haze
Too much detergent or dirty pad
Use less solution or replace pad
Pad detaches
Loose drive plate
Tighten and re-secure
Uneven results
Moved too quickly
Slow down, overlap passes
Excess water on floor
Worn squeegee
Replace squeegee blade
💡 Pro Tip: Always switch off the machine before making adjustments. Keep spare pads, brushes, and squeegees on hand for efficiency.
Safety Reminders for Cleaning Workers
- Never leave the machine running unattended.
- Avoid overloading power outlets.
- Use the correct cleaning solutions for your floor type.
- Wipe up spills right away to prevent slips.
- Maintain good posture while operating.
DIY vs Professional Cleaning Services
Aspect
DIY Cleaning
Professional Cleaning (Westlink Services)
Time
Slower learning curve
Quick, efficient, and precise
Tools
Limited equipment
Commercial-grade machines
Results
May leave streaks
Consistent, polished finish
Safety
Risk of misuse
Trained and insured staff
Professionals like Westlink Services deliver spotless, safe, and long-lasting results without the stress of managing complex machines yourself.
Estimated Floor Cleaning Costs (Australia – 2025)
Property Type
Estimated Cost
Small office (up to 100m²)
$200 – $350
Medium space (200–400m²)
$400 – $700
Large commercial area (500m²+)
$800 – $1,200+
Pricing varies based on floor type, dirt level, and desired finish (buffing, scrubbing, or polishing).
Final Cleaning Checklist
Floor surface is streak-free and polished
No dirt or residue left behind
Machine parts cleaned and stored properly
All warning signs removed safely
Space smells clean and fresh
Conclusion: Shine with Confidence
Operating a floor cleaning machine effectively takes a little practice but delivers big rewards. With the right preparation, tools, and care, you can maintain clean, shiny, and safe floors in any commercial or residential environment.
At Westlink Services, our trained professionals use advanced machines and eco-friendly cleaning products to maintain high standards of hygiene and presentation across all floor types.
Whether you’re cleaning an office, school, or retail store, mastering this process ensures your floors always leave a great impression — polished, professional, and built to last.
Comments